ColorPopFood has totally saved me on those days when my food tastes great but my photos look kind of sad and flat. You know the vibe, you made something cute, you’re hungry, the light is weird, and suddenly your plate looks like it needs a nap. I used to think I needed fancy gear, but honestly, it was more about a few simple tricks and a little planning. If you want your meals to pop on Instagram, your blog, or even a recipe card for friends, you’re in the right place. I’m going to walk you through five fun ways to level up your ColorPopFood game without making it complicated. 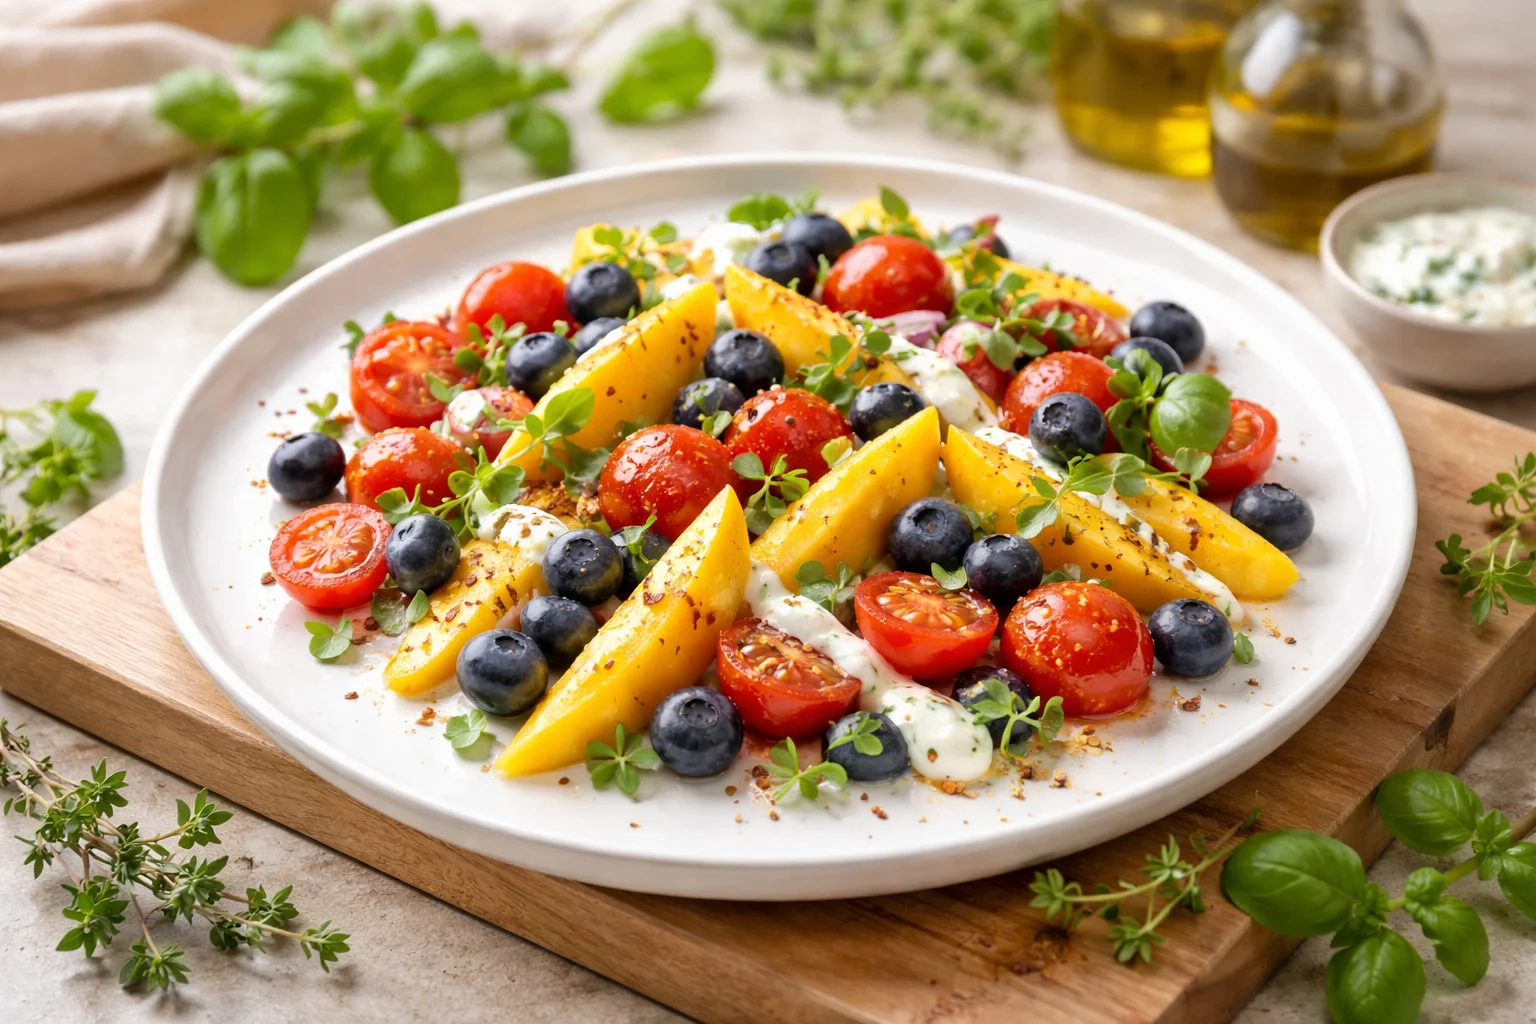
Overview of ColorPOP Images
ColorPOP images are basically photos where the main subject looks bold and bright, while everything else supports it without stealing the show. In food photos, that usually means your star ingredient gets the attention. Think ruby strawberries, neon green herbs, bright yellow lemon, or a glossy chocolate drizzle that looks like you want to dive into it.
The reason this style works so well for food is simple. Our eyes love contrast. When there’s clear contrast between the food and the background, your brain instantly understands what it’s supposed to look at. And when you’re scrolling fast, that matters.
When I’m doing ColorPopFood shots, I’m not trying to fake the food. I’m trying to show what I actually made, just in the most flattering way possible. It’s like putting on your favorite outfit before meeting friends. Same you, just a little more put together.
One thing that helped me a lot was studying a few cafeteria style examples, because they’re designed to catch attention quickly. If you’re curious, here’s a good reference page: ColorPOP Food Photo Signs | Nutrition Education | Descon School …. It shows how bold color plus simple layout makes food stand out fast.
Benefits of Using ColorPOP Images
So why bother? Because ColorPopFood visuals do more than just look pretty. They help people actually notice your content, understand your recipe, and feel confident trying it.
1) They make everyday food look exciting
I’ve taken ColorPopFood style photos of basic stuff like yogurt bowls and leftover pasta, and people still asked for the recipe. Not because I did anything wild, but because the colors looked fresh and clear.
2) They help your recipe feel easier
When your ingredients look distinct, readers can tell what’s going on. Like, a bright green basil leaf on red sauce is way clearer than a muddy photo where everything blends together.
3) They build a recognizable vibe
If you post regularly, ColorPopFood images can become your signature. People start to recognize your style even before they read your caption.
Here are a few practical benefits I’ve noticed personally:
- More saves and shares because the image is easy to “get” at a glance
- Less editing time once you learn a repeatable setup
- Better meal appeal for picky eaters, especially kids who eat with their eyes first
“I tried your tip about picking one hero color and suddenly my snack board photos looked like they belonged in a real blog. I didn’t even change my phone.”
How to Create and Implement ColorPOP Images
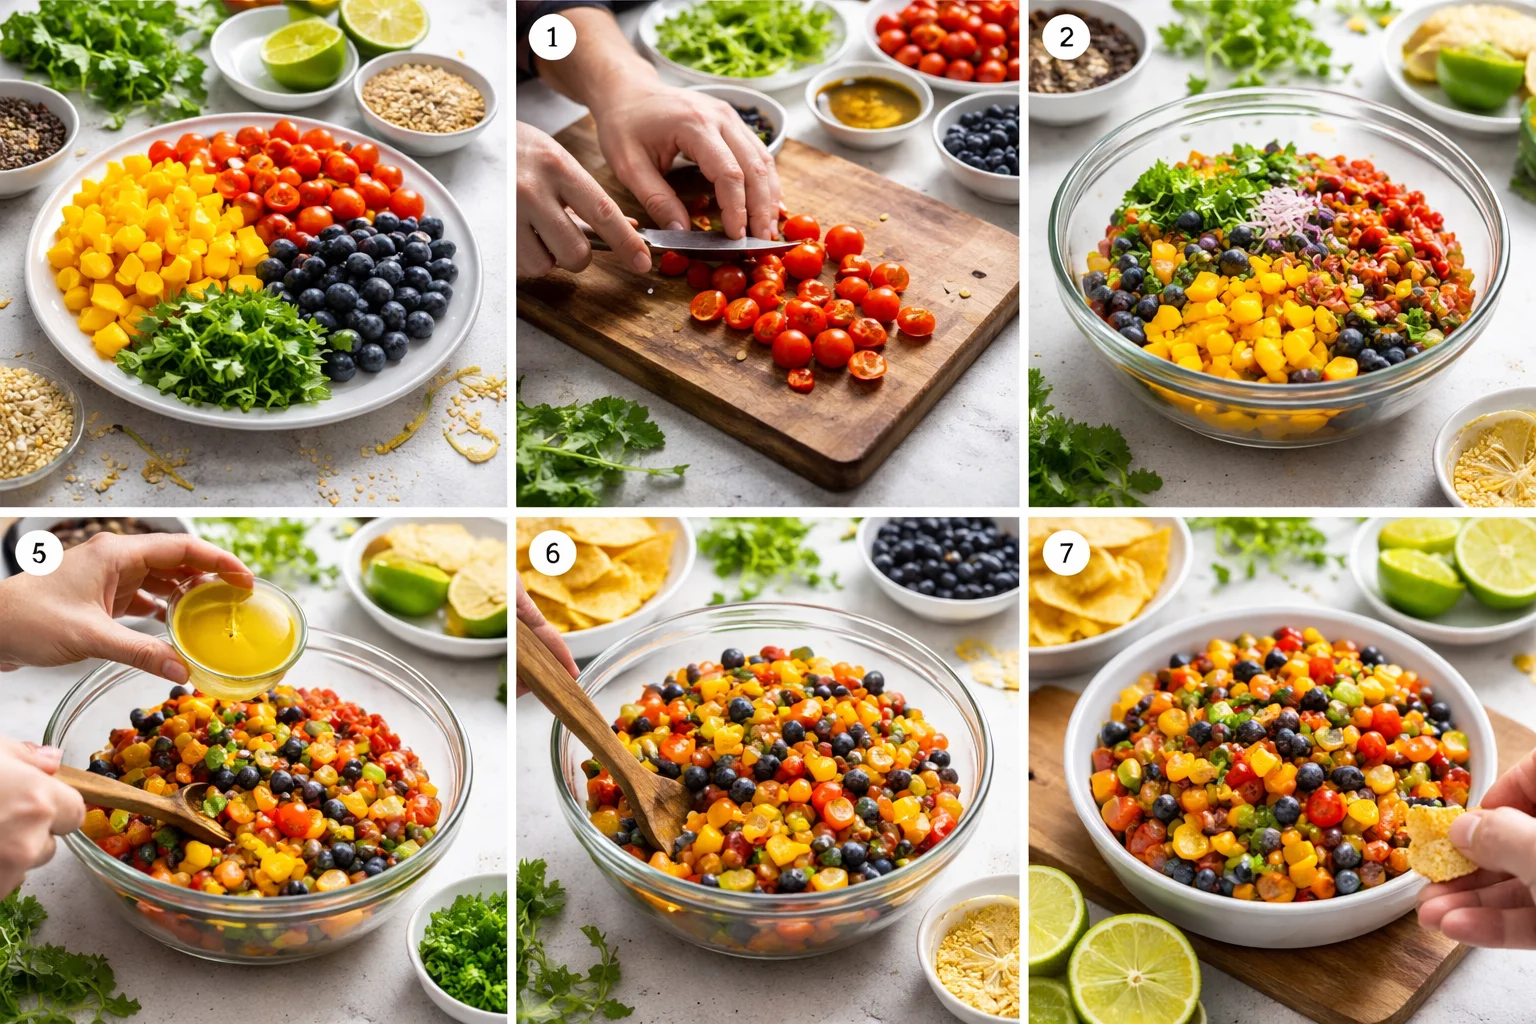
Okay, now for the fun part. Here are my five favorite ways to elevate your ColorPopFood game, like the kind of tips you can try today, even if your kitchen is small and your counter is covered in life.
Fun way 1: Pick one hero color first
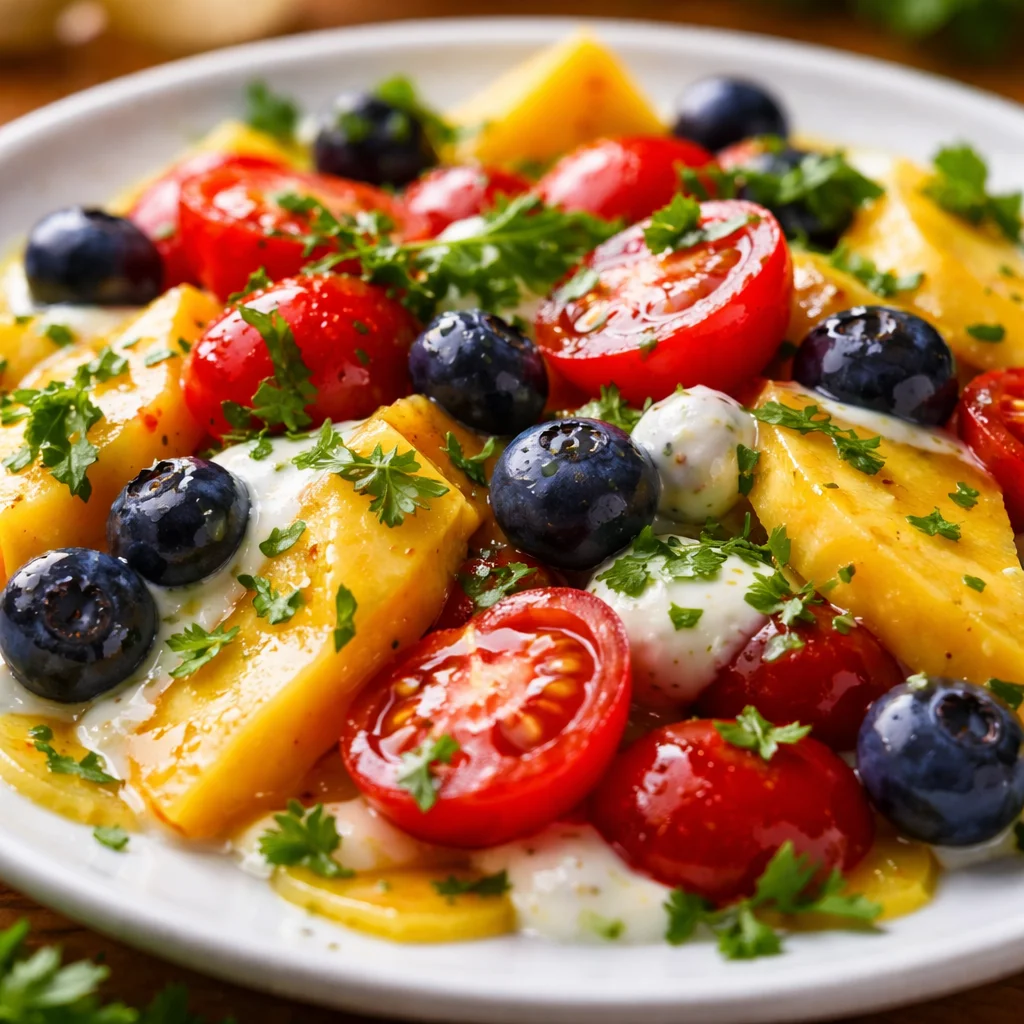
Before you cook, decide what the “hero” color will be. Maybe it’s bright red tomatoes, deep purple blueberries, or golden mango. Once you choose that, everything else can support it. I’ll often keep the plate and background neutral so the hero color wins.
Example: if I’m making a strawberry toast, I’ll use a white plate, a pale wood board, and keep other toppings minimal so the strawberry red looks loud in the best way.
Fun way 2: Use the simple background trick
If your background is busy, your food has to fight for attention. My lazy, reliable setup is:
- a white plate or light bowl
- a plain cutting board or baking sheet
- a neutral cloth napkin like beige, white, or soft gray
This is the quickest “instant ColorPopFood” upgrade I know. Your food looks cleaner and brighter right away.
Fun way 3: Add a fresh topper right before the photo
This is my favorite little cheat because it feels like magic. Right before you shoot, add something fresh and colorful on top. It makes the dish look alive.
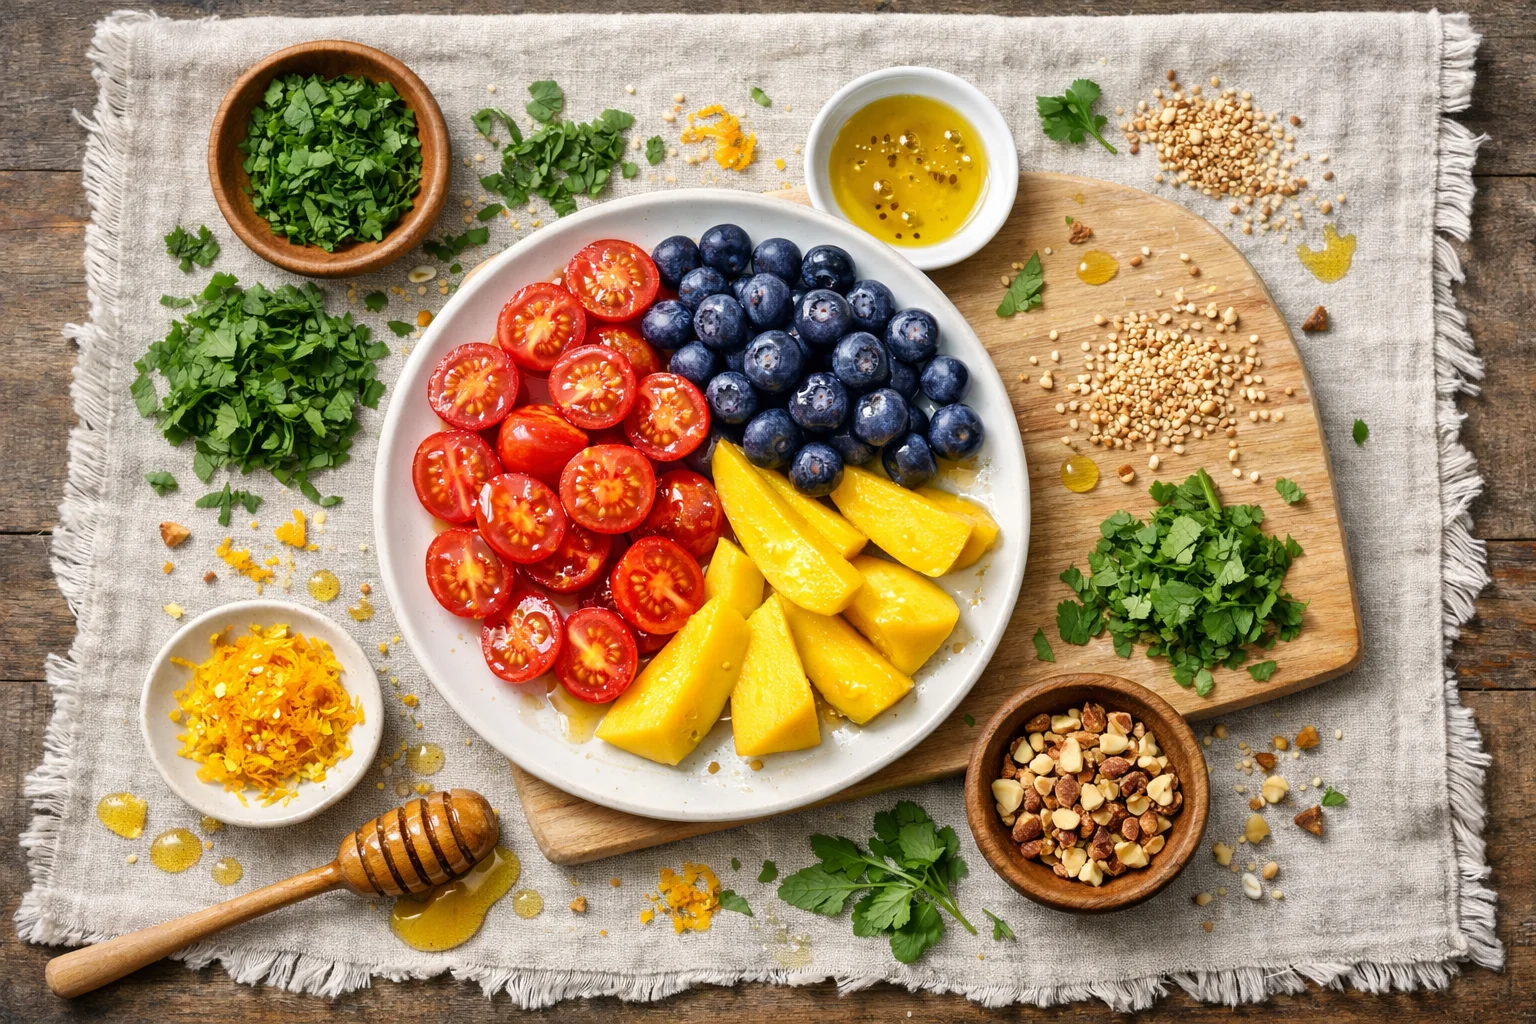
Some easy toppers that photograph well:
- chopped herbs like parsley, basil, cilantro
- citrus zest like lemon or orange
- something crunchy like toasted sesame seeds or chopped nuts
- a drizzle of honey, olive oil, or yogurt sauce
The key is timing. Add it at the end so it looks fresh, not wilted or melted.
Fun way 4: Use window light and turn off the overheads
I know you’ve heard this, but it’s true. Overhead kitchen lights make food look yellow or dull. I take most of my ColorPopFood photos next to a window, usually late morning or mid afternoon. If the sun is harsh, I soften it with a thin curtain. If it’s too dark, I move closer to the window rather than cranking up indoor lights.
Fun way 5: Edit lightly but with one goal
When I edit, I’m not trying to make the food neon or fake. My goal is to bring the photo back to what it looked like in real life. On my phone, I usually do:
- slightly increase brightness
- slightly increase contrast
- a tiny boost to saturation
- cool down warmth if it looks too yellow
If you want to get consistent, save your favorite edit as a preset. That’s how you get that “oh, that’s so you” look across your feed.
Also, quick note: implementing ColorPopFood images is not just for social media. You can use them in recipe printouts, menu boards, meal planning sheets, or even a little kitchen gallery wall if you’re into that kind of cozy home vibe.
Since your instructions asked for internal links, I’d normally link to a couple related posts here, like “my favorite pantry color boosters” or “easy snack board ideas,” but your internal link list is empty: []. If you send 2 URLs (or even just slugs), I’ll place them naturally into this section and another section as clickable internal links.
Best Practices for ColorPOP Images
Once you get the hang of it, ColorPopFood photos start feeling really repeatable. Here are the best practices I stick to so I don’t overthink every single shot.
Keep it honest. If the strawberries are a little messy, that’s fine. Real food is not perfect, and perfect is not the goal. Appetizing is the goal.
Use fewer props. One fork, one napkin, maybe a glass in the background. Too many props can make the photo feel cluttered and distract from the color pop.
Think in layers. Put your main subject in front, then add one soft background detail. Like a cutting board edge or a blurred bowl of extra sauce.
Check your whites. If your “white” plate looks yellow, your whole photo looks off. Fixing white balance is one of the fastest ways to make ColorPopFood images look clean.
Here is a quick checklist you can screenshot for your next shoot:
- Is there one main hero color?
- Is the background simple?
- Is the light soft and coming from the side?
- Do the toppings look fresh right now?
- Did I edit just enough to match real life?
Examples of Effective ColorPOP Images
If you want ideas that are easy to recreate at home, here are a few ColorPopFood examples that work almost every time, even when the dish itself is simple.
Example 1: Bright fruit on a neutral base
Greek yogurt, honey, and a pile of blueberries or strawberries. White bowl, neutral spoon, done. It’s classic because it works.
Example 2: Green garnish over warm food
Tomato soup or pasta gets a glow up with a swirl of cream and a sprinkle of basil. The red and green contrast is basically a cheat code.
Example 3: One bold sauce drizzle
Tacos or grain bowls look instantly more “finished” with a bright green salsa or a pink pickled onion moment. The color tells a story before anyone reads a word.
Example 4: Golden baked goods with one accent color
Pancakes, waffles, or beignets look amazing when you add one pop like berries or a little jam. If you love that vibe, this print is a fun inspiration piece for a kitchen wall: New Orleans Beignet Print: Color Pop Food Art, French Quarter Sketch.
Common Questions
Q: Do I need a fancy camera for ColorPopFood photos?
Nope. A phone works great. Good light and a simple background matter more than the camera.
Q: What is the easiest food to practice with?
Fruit, smoothies, salads, and anything with herbs. They naturally have bright colors and texture.
Q: Why do my photos look yellow?
Usually it’s overhead kitchen lighting. Turn it off and move near a window. You can also cool the warmth slightly in editing.
Q: How do I keep my colors from looking fake?
Edit lightly and compare the screen to the real food. If the berries look radioactive, pull saturation back.
Q: Can I do ColorPopFood style with darker foods like chocolate?
Yes. Use contrast. Put dark brownies on a light plate, add powdered sugar, and maybe a bright raspberry on the side.
A little pep talk before you plate your next photo
If you take anything from this, let it be this: ColorPopFood gets easier when you pick one hero color, keep the background calm, and use window light like it’s your best friend. A quick fresh topper and a light edit can turn an okay shot into one you actually want to post. And if you need extra inspiration, that New Orleans Beignet Print: Color Pop Food Art, French Quarter Sketch is a cute reminder that bold food visuals can feel like art, not just content. You can also peek at ColorPOP Food Photo Signs | Nutrition Education | Descon School … to see how strong color choices make food instantly readable. Now go make something tasty, snap the photo, and don’t stress it, your style will show up the more you practice.